在 flutter 上使用 c 代码 - (一) 有源码的项目
文章目录
在 flutter 的 1.10.x 后的分支, dart:ffi 被并入 flutter, 现在 flutter 中也可以使用 ffi 了。
这东西是啥玩意呢, 就是让 dart 可以直接调用 c/c++ 代码等东西的库, FFI(foreign function interface),
官方文档
在这里。
但是在当前版本中, 这东西在官方说明中依然处于技术预览版, 就是可用, 但后续不保证 api 不变更。
开发环境
首先我是 mac 系统, windows 系统不保证脚本的可用和工具的可用, linux 的话可能一些必要工具需要使用自己平台的包管理工具, 并且涉及到 ios 部分, 必须使用 mac。
所有需要的工具包
- Xcode(或 XcodeBuild 命令行工具)
- brew
- clang
- cmake
- Android 工具链
- Android SDK
- NDK
- Android Studio(可选)
- Gradle
- Flutter 工具链
- SDK 1.10.x+
- vscode(可选, 这东西看你的情况,作为示例的话只要是文本编辑器即可, 我本人使用这个作为主要的文本编辑器)
这里说的是包含后续所有用到的东西, 并不仅仅是本文。 其中对于 flutter 开发者可能需要单独安装的应该只有 NDK 和 Cmake, 这两个东西是包含在 android sdk 下的, 可以使用 android studio 下载, 也可以单独下载
ffi 的简单介绍
根据 官方文档 说明
可以理解为, 将 c 的类型和 dart 的类型关联起来, 然后 ffi 会在内部将两端关联起来, 完成调用
有如下几种类型
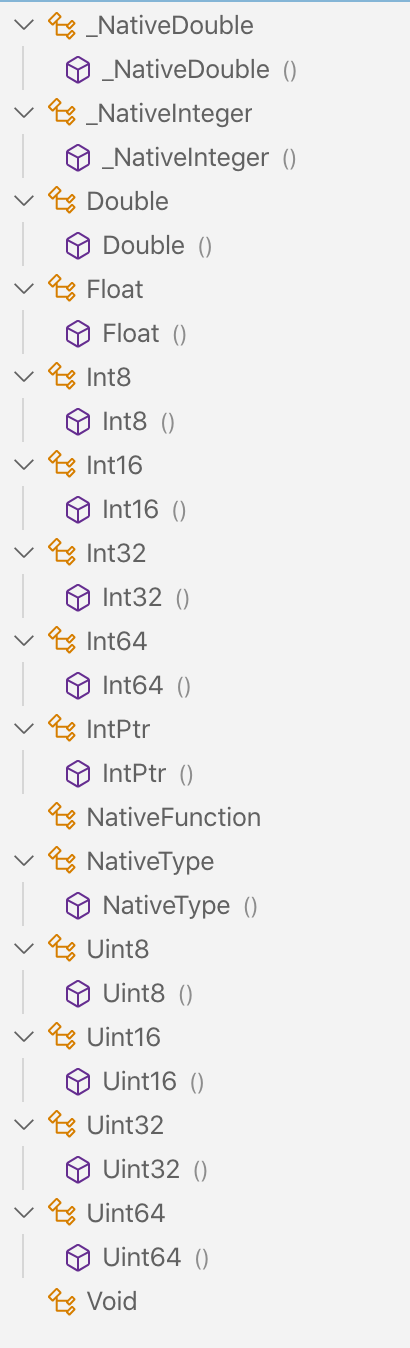
基本就是对应 c 中的类型, 对应 Void 各种长度的 有无符号的整型, 单双精度浮点, 指针, 方法
转化的过程
c 源码核心就这点, 其他的都做不知即可
1void hello_world()
2{
3    printf("Hello World\n");
4}
导包, 这个是第一步要做的
1import 'dart:ffi' as ffi;
 1// 定义一个ffi类型
 2typedef hello_world_func = ffi.Void Function();
 3
 4// 将ffi类型定义为dart类型
 5typedef HelloWorld = void Function();
 6
 7// 打开动态库, dylib是mac上的动态库的后缀
 8final dylib = ffi.DynamicLibrary.open('hello_world.dylib');
 9
10// 这里是最难理解的一步, 后面会详细解说
11final HelloWorld hello = dylib
12    .lookup<ffi.NativeFunction<hello_world_func>>('hello_world')
13    .asFunction();
14
15// 调用
16hello();
详细理解转化过程
这里以 lookup 方法为切入点,详细理解下这里做了什么, 以便于后面我们可以自行完成这个过程
lookup 方法签名如下:
1external Pointer<T> lookup<T extends NativeType>(String symbolName);
参数
很好理解, 传入一个方法名, 让我们能找到 c 方法
泛型
这个是方法的类型签名的 dart:ffi 表现形式.
c 方法的签名是这样的: void hello_world(), 所以我们就需要一个对应的类型, 也就是上面定义的 ffi 类型
ffi.Void Function()
返回类型
这里的返回值是用于在实际调用时,转化 c 方法的返回值为 dart 的类型来使用的, 所以就是对应的 dart 类型
1
2/// 定义是这样的
3void Function()
4
5/// 接收的asFunction方法
6final void Function() hello = XXXX;
写起来的时候可能是这样的,
实例
1extern "C" {
2// __attribute__((visibility("default"))) __attribute__((used)) // 虽然说需要这行, 但是没这行也没报错
3int32_t native_add(int32_t x, int32_t y) { return x + y; }
4
5double double_add(double x, double y) { return x + y; }
6}
 1import 'dart:ffi';
 2
 3final DynamicLibrary dylib = Platform.isAndroid
 4    ? DynamicLibrary.open("libnative_add.so")
 5    : DynamicLibrary.open("native_add.framework/native_add");
 6
 7final int Function(int x, int y) nativeAdd = dylib
 8    .lookup<NativeFunction<Int32 Function(Int32, Int32)>>("native_add")
 9    .asFunction();
10
11final double Function(double, double) doubleAdd = dylib
12    .lookup<NativeFunction<Double Function(Double, Double)>>("double_add")
13    .asFunction();
打包和运行
在 dart vm 中,可以有多种方案, 只要能编译出 dylib 即可
官方的 hello world 示例 中是直接使用 make, 内部使用 gcc 打包编译
这里有一个 脚本 ,是设置 dylib 的目录到环境变量中, 以便于运行时可以找到动态库
在 flutter 中使用
接着就要开始在 flutter 中使用了, 和在 dart vm 中使用不一样, 不能使用环境变量, 而是需要将库置入到项目中
创建仓库
直接使用 $ flutter create -t plugin native_add 的方式即可
cpp 文件
native_add.cpp
1#include <stdint.h>
2
3extern "C" {
4// __attribute__((visibility("default"))) __attribute__((used))
5int32_t native_add(int32_t x, int32_t y) { return x + y; }
6
7double double_add(double x, double y) { return x + y; }
8}
dart 文件
 1final DynamicLibrary dylib = Platform.isAndroid
 2    ? DynamicLibrary.open("libnative_add.so")
 3    : DynamicLibrary.open("native_add.framework/native_add");
 4
 5final int Function(int x, int y) nativeAdd = dylib
 6    .lookup<NativeFunction<Int32 Function(Int32, Int32)>>("native_add")
 7    .asFunction();
 8
 9final double Function(double, double) doubleAdd = dylib
10    .lookup<NativeFunction<Double Function(Double, Double)>>("double_add")
11    .asFunction();
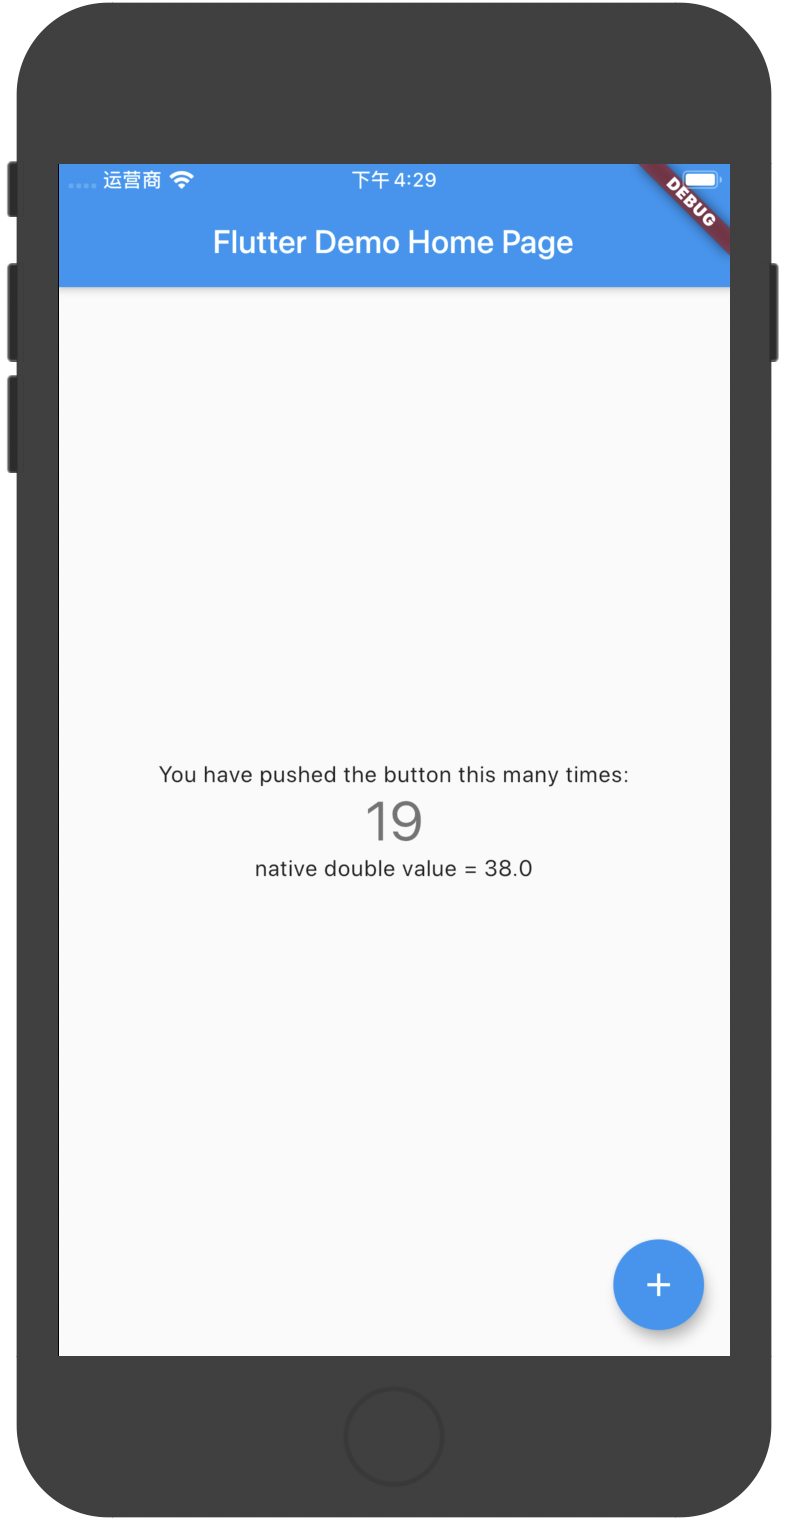
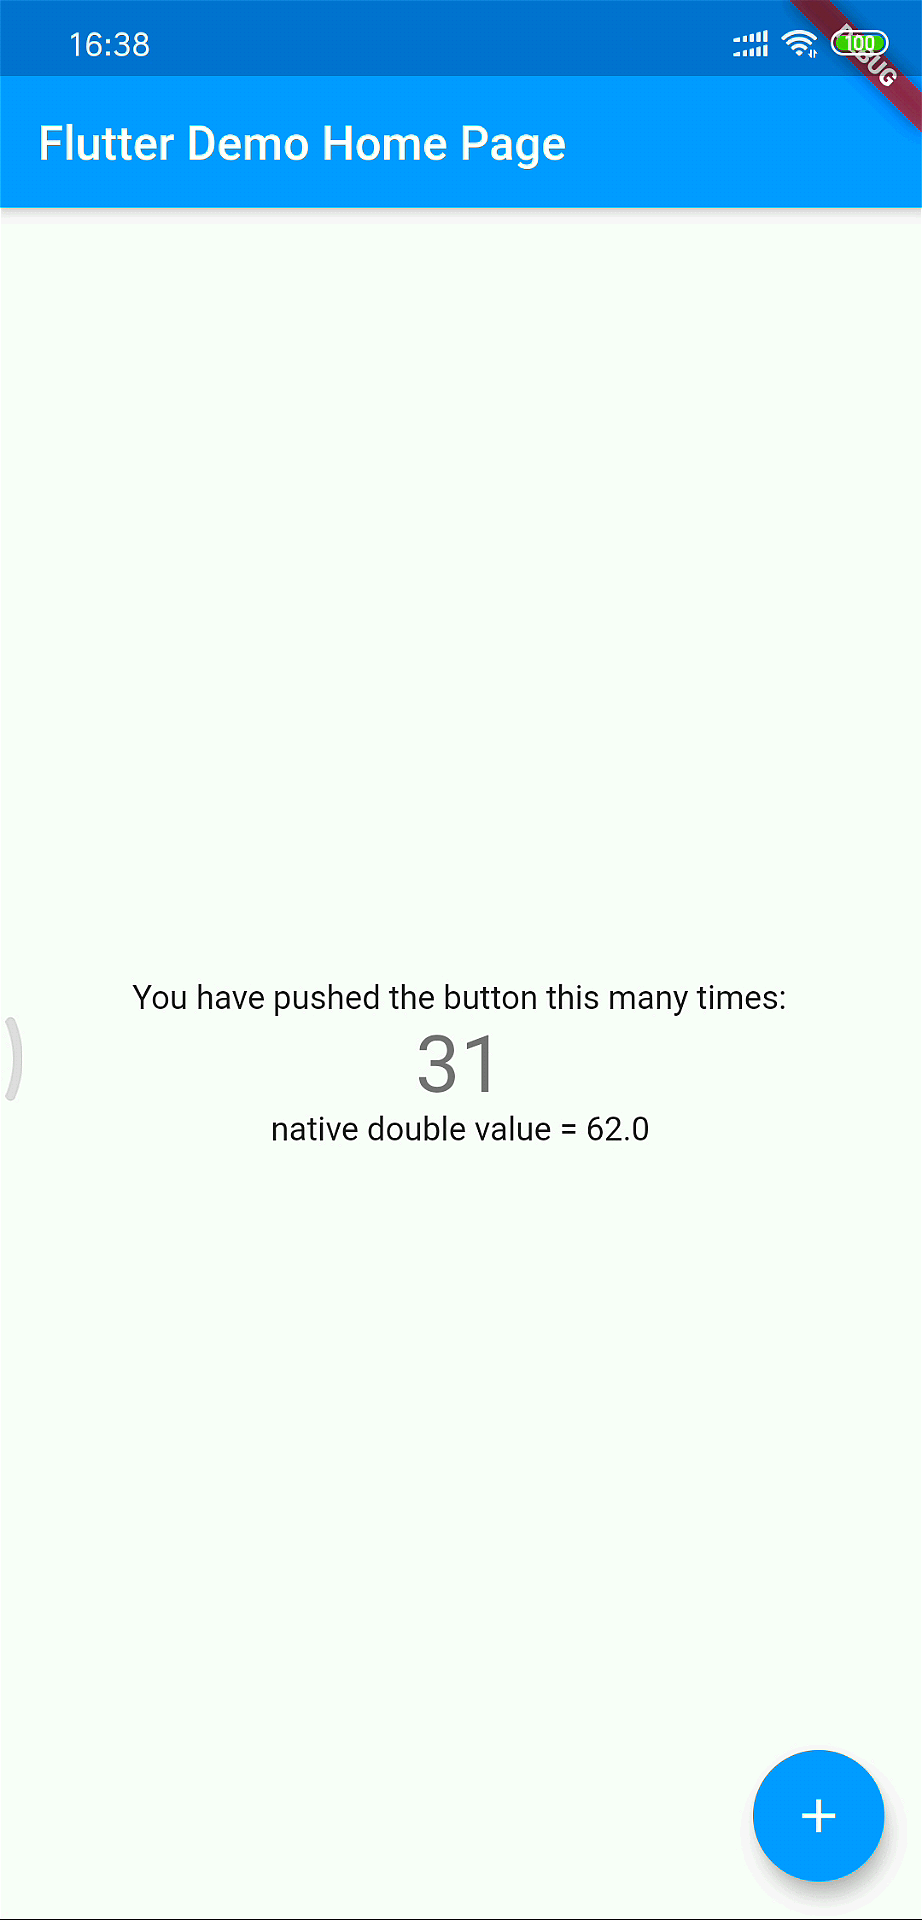
界面:
 1
 2class MyHomePage extends StatefulWidget {
 3  MyHomePage({Key key, this.title}) : super(key: key);
 4
 5  final String title;
 6
 7  @override
 8  _MyHomePageState createState() => _MyHomePageState();
 9}
10
11class _MyHomePageState extends State<MyHomePage> {
12  int _counter = 0;
13
14  void _incrementCounter() {
15    setState(() {
16      _counter = nativeAdd(_counter, 1);
17    });
18  }
19
20  @override
21  Widget build(BuildContext context) {
22    return Scaffold(
23      appBar: AppBar(
24        title: Text(widget.title),
25      ),
26      body: Center(
27        child: Column(
28          mainAxisAlignment: MainAxisAlignment.center,
29          children: <Widget>[
30            Text(
31              'You have pushed the button this many times:',
32            ),
33            Text(
34              '$_counter',
35              style: Theme.of(context).textTheme.display1,
36            ),
37            Text(
38                "native double value = ${doubleAdd(_counter.toDouble(), _counter.toDouble())}"),
39          ],
40        ),
41      ),
42      floatingActionButton: FloatingActionButton(
43        onPressed: _incrementCounter,
44        tooltip: 'Increment',
45        child: Icon(Icons.add),
46      ),
47    );
48  }
49}
ios
ios 中, 直接将 cpp 文件置入 ios/classes 文件夹内即可, 然后因为 podspec 中包含默认配置的原因, 这个文件会被自动引入项目
1s.source_files = 'Classes/**/*'
运行项目:
Android
android 中其实有两种方法, 一是用传统的 ndk 方式, 就是 Android.mk 那种方案, 我们略过这种方案, 因为配置比较复杂, 我们使用第二种方案, 官方推荐的 cmake 方案
因为 ios 中, 文件被置入源码中, 我这里直接使用相对路径去引入这个文件
CMakeLists.txt:
1cmake_minimum_required(VERSION 3.4.1)  # for example
2
3add_library( native_add
4
5    # Sets the library as a shared library.
6    SHARED
7
8    # Provides a relative path to your source file(s).
9    ../ios/Classes/native_add.cpp )
- 指定源码对应的库是哪个库
- 指定库的类型, 这里是动态库, 所以用 SHARED
- 指定源码目录
然后因为我们使用了 cmake, 为了让安卓项目知道, 我们需要修改 gradle 文件
1android{
2    // ...
3    externalNativeBuild {
4        cmake {
5            path "CMakeLists.txt"
6        }
7    }
8}
这里在 android 节点下, 添加属性即可, 这里是指定 Cmake 使用的文件
接着就可以运行项目了, 和 android 中一样
简单总结
现在 ffi 处于初始阶段, 还有诸多不足.
比如, 文档的缺失, 现在如何传递字符串,数组都是问题, 虽然有结构体的定义, 也能看到部分说明, 但没有简单的示例帮助开发者快速使用.
只有基本数据类型, 目前可能还不需要借用 c 来解决, 未来则要看 ffi 会开放到什么程度.
后记
项目地址: https://github.com/caijinglong/example_for_flutter_ffi
以上